Just In
- 3 hrs ago

- 10 hrs ago

- 11 hrs ago

- 14 hrs ago

Don't Miss
- Sports
 Today's IPL 2024 Match Highlights, LSG vs CSK: Five Key Points as KL Rahul powers Lucknow to Crucial Victory
 - News
 TDP Candidate Dr G Laxmi Pauses Lok Sabha Election Campaign To Perform Caesarean
 - Education
 Exam Pressure Does Not Exist; Studying Punctually is Crucial; Says Aditi, the PSEB 2024 Topper
 - Movies
 When Karan Johar Revealed Sara Ali Khan And Janhvi Kapoor Once Dated Siblings On KWK 7, Guess Who?
 - Finance
 Reliance, ONGC, Tata, Adanis: Energy Stocks Didn't Get The Memo Of Bears, Up 12% In 30-Days; 10 Stocks To BUY
 - Automobiles
 Suzuki Swift Hatchback Scores 4 Star Safety Rating At JNCAP – ADAS, New Engine & More
 - Technology
 Dell Introduces AI-Powered Laptops and Mobile Workstations for Enterprises in India
 - Travel
 Journey From Delhi To Ooty: Top Transport Options And Attractions
Try This Facial At Home, In Just 5 Steps
How about a home facial in just five steps?
Facial is a thorough face cleansing and massaging session that should happen at regular intervals, in order to maintain a healthy glow and skin texture.
However, facial either requires a salon visit or long preparation at home to do and thus, women often skip it. Despite knowing the benefits and pros of a facial, women skip it being scared of the preparation associated with the facial.
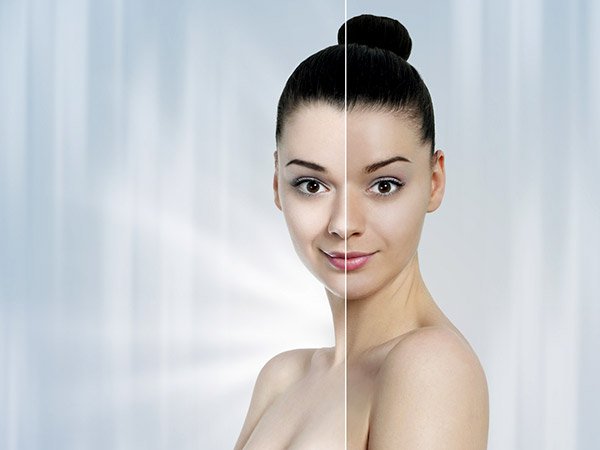
To simplify the problem and make facial a regular beauty routine in every woman's beauty care, here is summarizing the entire process of facial in only five steps.

Follow these five steps of a facial one after the other at home and your skin will show results within 24 hours.
Before beginning, ensure you collect all the ingredients required to do the facial and then go for it, right at home.
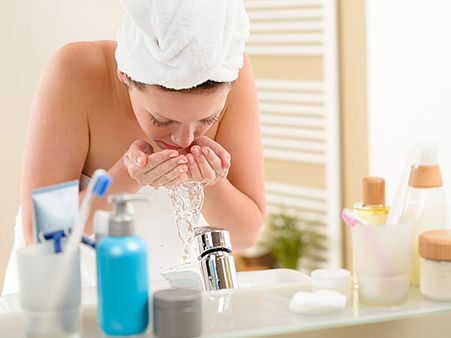
Cleanse Your Face
At first, you have to cleanse your face. How you will cleanse your face in the at-home facial procedure depends on the present condition of your face.
- If your face has makeup, first remove it with coconut oil and then cleanse it with normal water.
- Face cleansing best happens if you can use coconut water. Another natural face cleansing agent is honey.
- Apply your cleanser in a circular motion on the cheeks, forehead and all over the face and leave it for 10 minutes.
- Wipe it off with a clean tissue. You cannot use this tissue again during the facial.
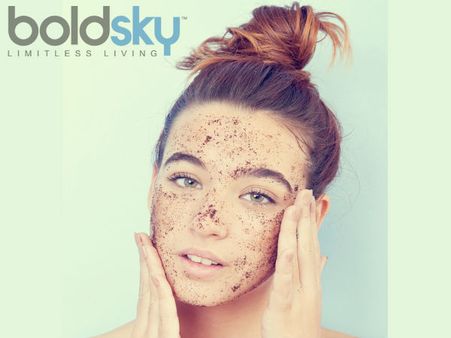
Exfoliate Very Gently
- For the second step of the at-home facial, you have to scrub your face. You can use a simple DIY scrubber recipe or buy a scrubber from the market.
- Please ensure you do not over extend this scrubbing step, as it can damage your skin.
- Take a hefty amount of your scrubber and massage on your face. Scrubbing should be extra-specific around the nose and beneath the lips.
- After 8-10 minutes of scrubbing, wash your face.
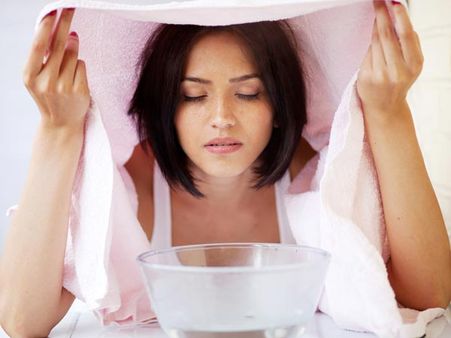
Spend Time On Steam
- At the third step of the at-home facial comes in the steam. This might sound a little tough to do but it is very relaxing.
- Steam is an important step of a facial, which you cannot afford to miss.
- Prepare a vessel full of hot water and you will need a towel.
- Cover your head with the towel and inhale the steam of the hot water.
- This will make your face a little sweaty, but it is for the good.
- After 6-8 minutes of steam, get set for the next step of the at-home facial - toning.
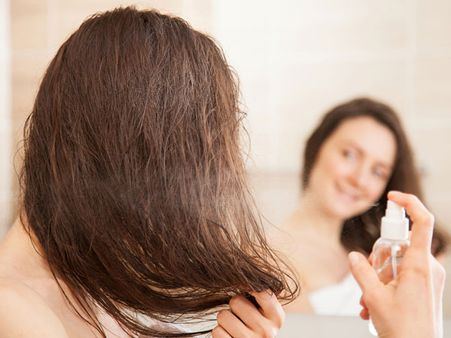
Toning And More
- Now use a blackhead extracting tweezer and press it all over the face to clear all the whiteheads and blackheads.
- This should not be done on top of the pimples or skin eruptions.
- When done with the thorough cleaning process using a tweezer, wipe your face with a towel.
- Now, dab your favourite fruit toner on a cotton pad and apply this on your face.

Face Mask At The End
- Once the face toning is done, the last and final step of the at-home facial is applying a face mask.
- For the face mask, you can go for your favourite brand or just pick a skin-friendly pulpy fruit.
- Make a thick face pack, apply it all over the face and relax for the next 20 minutes.
- The mask has to dry on your face before you wash it off.
- Wash off the dry mask with water and then, sprinkle some rose water all over your face.
You are done with your at-home facial process and now, just wait 24 hours for your face to reveal the result.
-
 beautyHappy Birthday Alia Bhatt: Stunning Actress' Guide To Ice Water Facials & Foundation-Free Makeup, Watch Video!
 -
 skin careDetoxifying DIY Facial: Get Healthy, Glowing Skin In Just 6 Steps!
 -
 skin careKareena Kapoor Khan’s Key Ingredient For DIY Facials: 3 Ways You Can Use It!
 -
 skin careBusy Schedule? Here's A Quick 5-Minute Facial To Get Glowing Skin
 -
 skin careHow To Do Facial Massage For Glowing Skin
 -
 skin careHow Often Should You Get Facial Done To See Visible Results
 -
 skin careBenefits Of Doing Facial In Winters
 -
 men fashionFacial For Men: Benefits & How To Do It At Home
 -
 body careFacial Cupping: What Is It, Its Benefits & How It Is Done
 -
 body careInternational Yoga Day 2019: 10 Anti-Ageing Facial Yoga Exercises
 -
 skin careWhat Is Microcurrent Facial, What Are Its Benefits & How Is It Done?
 -
 skin careHomemade Facial Fruit Massage Cream For Glowing Skin


 Click it and Unblock the Notifications