Just In
- 1 hr ago

- 12 hrs ago

- 15 hrs ago

- 15 hrs ago

Don't Miss
- Finance
 Infosys Q4 Results Preview: Muted Growth In Revenue Likely, Margins To See Gradual Rise
 - Sports
 'No regrets' says Pep Guardiola after Manchester City loss in Champions League
 - Movies
 Ranam OTT Release Date And Platform: When And Where To Watch Vaibhav Reddy Starrer Movie Online
 - News
 Delhi Capital's Captain Rishabh Pant Gathers Praise For His Wicketkeeping Skills, Stunning Catch
 - Education
 SCCL Recruitment 2024; Application process, Selection criteria and more
 - Automobiles
 Mahindra 3XO SUV Latest Teaser Reveals Connected Car Tech: All Details Here
 - Technology
 OnePlus 13 Early Leak Hints at a Revamped Camera Island, and Fast Charging to Remain at 100W
 - Travel
 From Coconut Breaking on Head to Men Dressing as Women: 12 Unique Indian Rituals Explored
A Beginners Guide On How To Do A Gel Manicure At Home
To look beautiful is more than putting on a stunning make-up look. Your overall look also entails your hands. Soft, healthy and beautifully-painted nails attract all. It also makes you feel good about yourself. Apart from the beauty factor, it also reflects and aids to your health. Getting a manicure does all that and some more.
You might have noticed a surge of various kinds of manicure in the parlours near you. That is the ladies realising the impact and importance of a manicure. Of all these kinds, one that has become a cult favourite is gel manicure. We love to see it and get it. Unfortunately, we can't always go for it. There is either time constraint or it is too heavy on the pocket. But, do you really need to take a trip to the parlour to get the gel manicure done? We say not!

With the right equipment, the right technique and a whole lot of practice, you can easily do a gel manicure at home. There sure is an investment in the beginning, but in the long run, it is convenient and pocket-friendly. So, let's begin.

Step 1:
Use the nail paint remover to get rid of any previous polish on your nails. If it is an embellished or glittery polish and you are finding it hard to remove, soak the cotton ball with the nail paint remover and place it on the nails for a couple of minutes. Once done, it shouldn’t be too difficult to remove your polish.
Step 2:
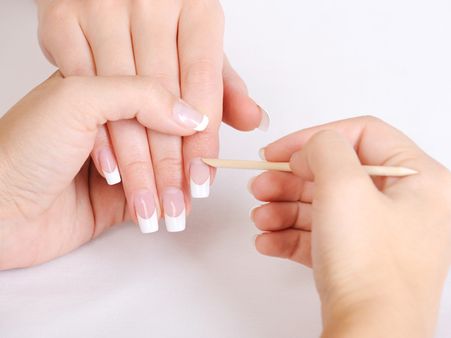
Apply the cuticle cream on your cuticles and let it get absorbed for a few minutes. Wipe the cream and push your cuticles back using the cuticle pusher. Be gentle while pushing the cuticles and don't press it too hard into your skin.
Step 3:
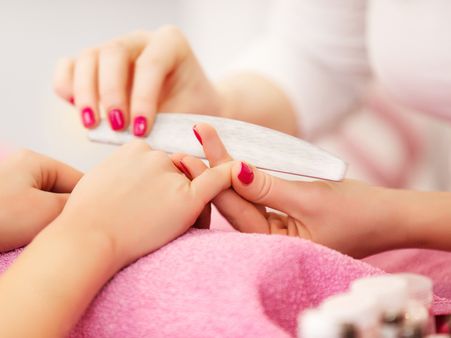
Cut and file your nails to the desired shape and size. It is the best time to shape your nails as it would ruin the manicure if you do it afterwards.

Step 4:
Wash your hands with a mild cleanser and pat them dry.
Step 5:
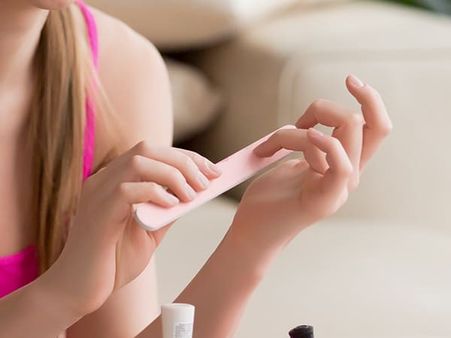
Buff your nails using the nails buffer. This will roughen up your nail bed and help the polish to stick to your nails easily.
Step 6:
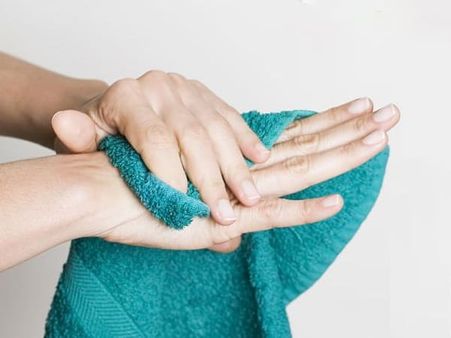
Wipe your hands clean using the towel.
Step 7:
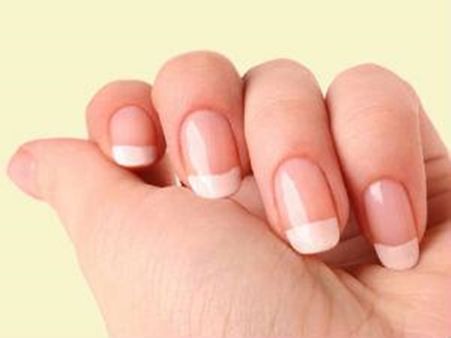
Apply a thin coat of base gel polish on your nails. Cure it under the UV lamp for about 2 minutes. Make sure you apply a very thin base coat. It will help in layering the polish later.

Step 8:
Apply the gel polish on your nails. Make sure it does not spread to your cuticles or the skin surrounding your nails or they will start to peel. If you do get it on your cuticles or the skin around, use the nail polish remover with a cotton swap to wipe it immediately. Cure the polish under the UV lamp for about 2 minutes.
Step 9:
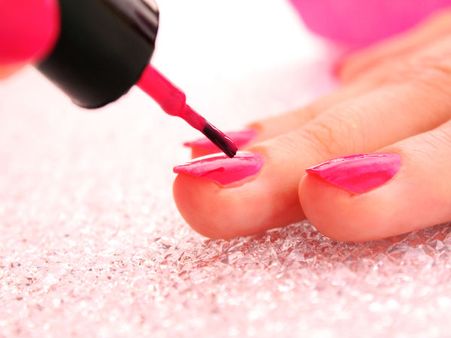
Apply the second coat of the polish and cure it again under the UV lamp for about 2 minutes. If needed, you can go for a third coat of the polish as well. Remember to cure it under the UV lamp for a couple of minutes.
Step 10:
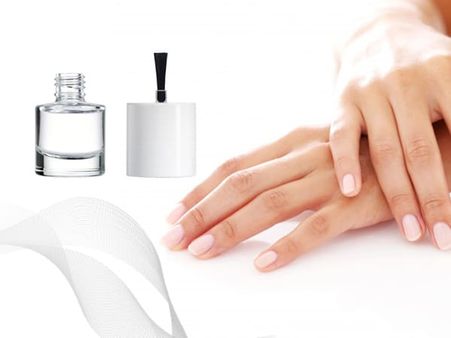
Seal the polish in place by applying the gel coat over it. Cure it under the UV lamp for about 2 minutes and you are done.
-
 beautyStep-by-Step Guide: Master The Art Of DIY Gel Manicure At Home
 -
 body careHot Stone Pedicure: Have You Tried It? 4 Reasons Why You Should!
 -
 make up tipsBest Way To Remove Acrylic Nails Without Damaging Them
 -
 make up tipsSelena Gomez’s Colour Pop Pink Eye Shadow And Neon Green Nail Paint Will Easily Boost Your Monday Mood
 -
 make up tipsKhushi Kapoor Steals The Limelight With Her Stunning Look In A Pink Scrunchie, Pink Makeup, And Pink Nails
 -
 women fashionKylie Jenner Once Again Intrigues Us With Her Latest Colourful French Manicure
 -
 body care3 DIY Nail Soaks To Get Beautiful And Strong Nails
 -
 body careHow To Revive Your Natural Nails After Removing Acrylic
 -
 make up tipsThis Blogger On Instagram Shares A Great Tip To Handle Outgrown Gel Manicure During Self Quarantine
 -
 body care14 Manicure Mistakes You Need To Be Careful About
 -
 body care12-Step Guide To Do A DIY Manicure At Home
 -
 body careTry These 14 Amazing Tips & Tricks To Make Your Manicure Last


 Click it and Unblock the Notifications