Just In
- 2 hrs ago

- 3 hrs ago

- 6 hrs ago

- 13 hrs ago

Don't Miss
- Sports
 Who Won Yesterday's IPL Match 34? LSG vs CSK, IPL 2024 on April 19: KL Rahul Stellar Batting Show Decimate Chennai Bowling
 - Finance
 Rs 17/Share Dividend: Record Date On April 26; Buy The ICICI Group Stock To Be Eligible?
 - Movies
 Chief Detective 1958 Episode 2 OTT Release Date, Time, Platform: When & Where To Watch? What To Expect? DEETS
 - News
 Chinese President Xi Jinping Orders Biggest Military Reorganisation Since 2015
 - Education
 Exam Pressure Does Not Exist; Studying Punctually is Crucial; Says Aditi, the PSEB 2024 Topper
 - Automobiles
 Suzuki Swift Hatchback Scores 4 Star Safety Rating At JNCAP – ADAS, New Engine & More
 - Technology
 Dell Introduces AI-Powered Laptops and Mobile Workstations for Enterprises in India
 - Travel
 Journey From Delhi To Ooty: Top Transport Options And Attractions
3 Ways To Make Your Own Highlighter At Home
Makeup is to women what cricket is to men. Both can't live without these things.
Women spend a lot of time and energy on various makeup products. They usually spend a huge chunk of money on these too.
After all, they want to achieve that air-brushed look that is advertised on all magazines. Women go to any extent to look like those high-end models.
Although we want to look like them, we most probably never have the budget to buy all the high-end products. But, here is the secret.
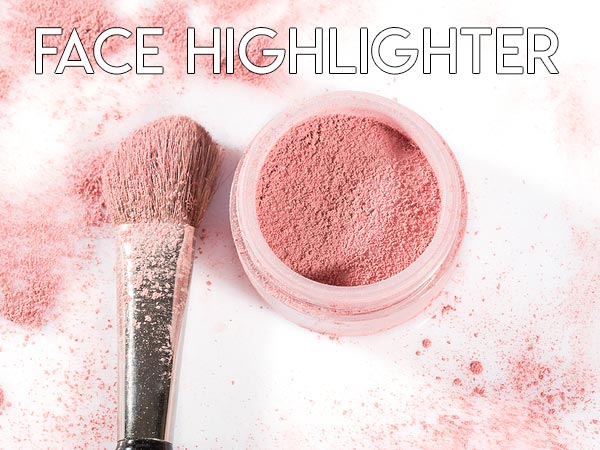
Little do we know that professional makeup artists swear by using the makeup products in many different ways. Mixing and combining certain makeup products could lead to a whole new product.
Yes ladies, this means you can save some serious money on makeup products now! You just need to know how. And we are here to impart this knowledge to you. Just stick with us and read on....
Make-up has evolved a lot in the recent times. There are many steps to achieving that perfect face. The usual steps are primer-concealer-foundation-loose powder.
But there is one more step which will define your facial features. It's called highlighting.
A lot of Kardashian fans may already know about it; but, nevertheless, here is a brief regarding it.
A highlighter will simply highlight your best facial features and give your skin a sun-kissed glow. This step is important to achieve the sharp look that you get to see in the glossies. If you haven't included it in your makeup kit yet, it's high time you do.
Now, we would never want you to spend extra bucks on buying a highlighter. So, here is the thing. You can make one at home. You heard it right!
You can make your own highlighter at home using a few products from your makeup kit. Here are three amazing ways in which you can prepare your own highlighter at home.
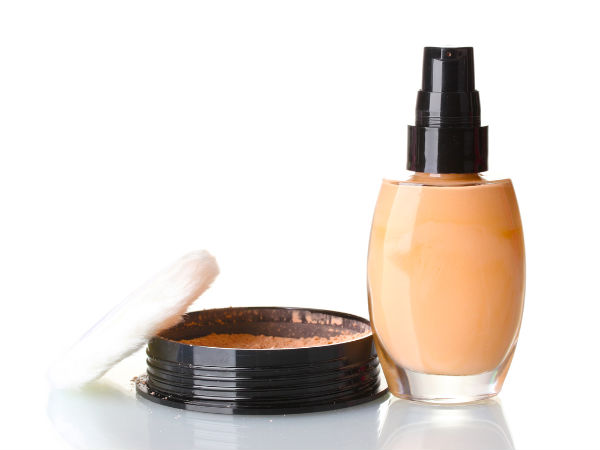
Method 1:
Ingredients-
- A small container with a lid
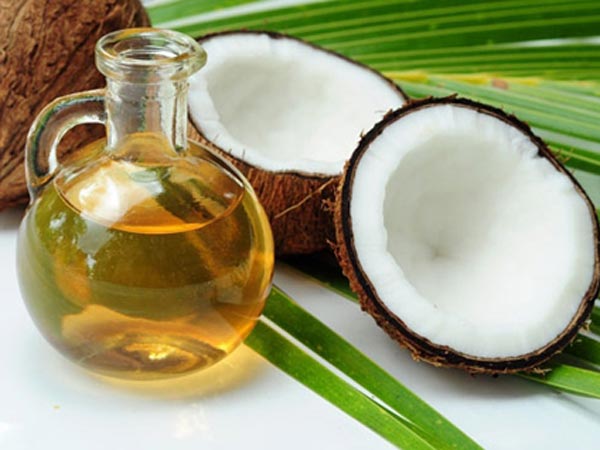
- Coconut oil
- Some gold dust powder
- Pink eyeshadow
- Moisturizer of your choice
How To Prepare:
1) Take the container and make sure it is completely dry and clean.
2) Add ½ a teaspoon of pink eyeshadow powder to it.
3) Add ¼th spoon of gold dust powder. It can also be of a shimmery variety.
4) To this, 2-3 drops of coconut oil should be added. Mix it until it is even.
4) Lastly, add a few drops of your moisturizer to it in order to give the highlighter a creamy consistency.
5) Your homemade highlighter is ready. You can use it for up to 2 months if stored in ideal conditions.
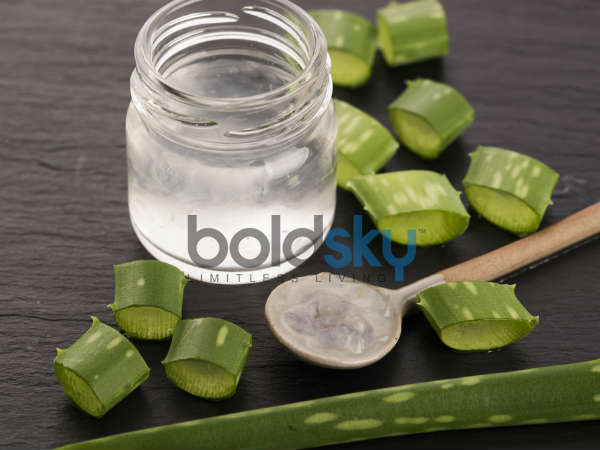
Method 2:
Ingredients:
- A small container with lid
- 1 teaspoon aloe vera gel
- 1 teaspoon of your favourite moisturizer
- A squeeze of a primer
- A teaspoon of compact powder
How To Prepare:
1) In a bowl, take the aloe vera gel.
2) To it, add the teaspoon of compact powder. Scratch your old compact for it. Make sure that the colour of it is at least three shades lighter than your skin tone.
3) Mix both the ingredients thoroughly till even.
4) Next, add a squeeze of your primer.
5) Mix your moisturizer to it until the entire mixture achieves a creamy consistency.
6) Your highlighter is ready to be used.
Method 3:
Ingredients:
- A small jar with a lid
- A liquid foundation
- Silver eyeshadow
How To Prepare:
1) In the jar, add about 2-3 spoons of your regular foundation. It is better to use a shade which is 2 times lighter than your actual skin tone.
2) Scrap some silver eyeshadow and add it to the foundation.
3) Mix everything together.
With all the above-mentioned methods of preparing a homemade highlighter, remember, that the end product should be at least 2 shades lighter than your actual skin tone for the highlighter to work its best.
Blend the prepared highlighter to your cheekbones and the bridge of your nose after the foundation. Dab it and blend it with the rest of the makeup. It will instantly brighten your face and make it camera-ready.
-
 beautyHoli 2024: 8 Effective Tips To Safely Remove Harmful Colours From Your Hair
 -
 insyncEco-Friendly Gift Wrapping: 5 Ways To Make This Holiday Season Fun 'N Green
 -
 beautyBeauty In A Jar: Can You Make Anti-Ageing Collagen Powder At Home?
 -
 home n gardenDiwali 2023: How To Make DIY Lanterns For Diwali
 -
 healthHow To Dry Rose Petals To Make Rose Tea At Home? Best For Weight Loss, Menstrual Cramps And More
 -
 home n garden6 Creative Ways To Decorate Your Home On Tight Budget, The Result Is One-Of-A-Kind!
 -
 fashionAnanya Panday's DIY Skincare Masks For The Glowy Skin, Achieve Your Skin Goals!
 -
 insyncUnique DIY Anniversary Gifts And Ideas That Will Take Your Partner By Surprise And Create Beautiful Memories
 -
 beautyStep-by-Step Guide: How To Trim Your Hair At Home Like A Pro
 -
 healthUnlock The Secret To Healthy Nails: Strengthen Your Nails Naturally At Home
 -
 beautySpice Up Your Skincare: DIY Herbal Face Masks With Indian Spices
 -
 beautyGet Festive-Ready: Onam DIY Beauty Tips Using Traditional Ingredients


 Click it and Unblock the Notifications