Just In
- 41 min ago

- 9 hrs ago

- 9 hrs ago

- 10 hrs ago

Don't Miss
- Movies
 Kapil Sharma Reaches Vaishno Devi; Offers Prayers To The Shrine By Singing ‘Tune Mujhe Bulaya’, Watch
 - Finance
 10 Bonus Shares, 1:2 & 1:5 Splits; Smallcap Steel Stock Below Rs 15, Falls 10% In 5 Days; Plans FPO Ahead
 - Sports
 Olympic Flame Lit For Paris Games Amidst Ancient Olympia's Charm In Greece
 - News
 Where Is Nitish Kumar? Why Is BJP Not Inviting Him To Lok Sabha Election Rallies: Tejashwi Yadav
 - Education
 UPSC CDS 1 Exam on 21 April 2024
 - Automobiles
 Jeep Compass Gets More Powerful 268.3bhp Turbo Petrol Engine – Check Out All The Details Here
 - Technology
 Redmi Pad SE With 90Hz Display Launching on April 23 in India; Could Be Priced for Less Than Rs 20,000
 - Travel
 From Coconut Breaking on Head to Men Dressing as Women: 12 Unique Indian Rituals Explored
Chia Seed Hair Mask Recipe To Make Your Hair Super-Silky & Really Strong!
For super smooth, silky and shiny locks, try this chia seed hair mask for strong hair!
We cannot get enough of this chia seed hair mask, and you wouldn't too, if you knew how it can transform your hair. If strong, long and smooth hair is what you want, then this chia seed mask for long hair is just what you need.
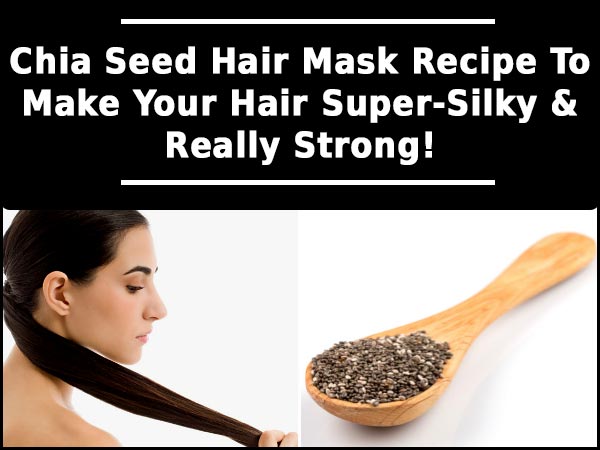
Before exploring the chia seed mask for hair growth, you need to first understand its exact properties, and how it can make a difference to your mane.
Chia seeds contain 20% more protein than soya bean. Your hair shaft is made up of 70% of a protein compound called keratin, which determines its length, texture and strength.
The high ratio of protein present in chia seed will repair damaged hair and promote the regeneration of new hair follicles.
Other than that, chia seeds contain zinc and copper. Zinc prevents the thinning of hair and copper prevents greying of hair and keeps the scalp healthy.
Plus, chia seed is rich in omega-3 fatty acids, a fatty acid that cannot be synthesized by the body, and can only be ingested through food. Omega-3 fatty acids stimulate the scalp and promote good hair growth as well.
Now that you know how it works, here is a step-by-step guide on how to nourish your scalp and hair using chia seed.
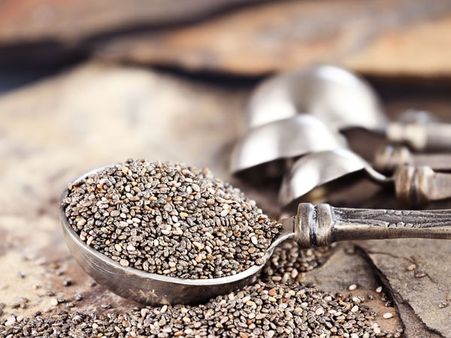
Step 1:
Take two teaspoons of chia seeds in a bowl, add 1 cup of water. Let it sit for 10 minutes until it starts to swell. Strain the solution. You should get a gel-like consistency.
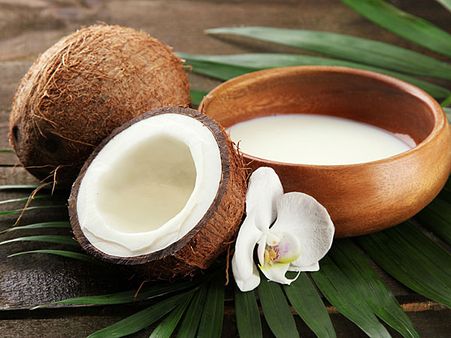
Step 2:
Grate coconut and extract its milk. You will need half a cup of coconut milk for this chia seed mask for silky hair. Coconut contains unsaturated fat that will repair the dry hair shaft, moisturise hair and give it a healthy shine.
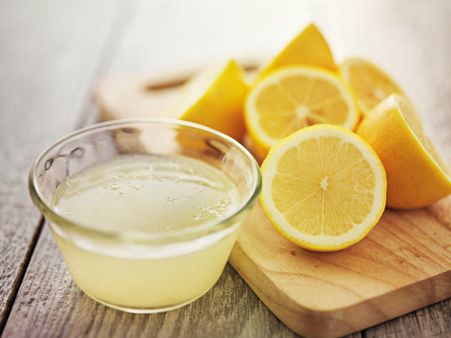
Step 3:
Add a teaspoon of lemon juice to the coconut milk along with the chia seed gel. Using a fork, stir it well until the components blend together. Lemon juice has citric acid that will cleanse the scalp, remove dandruff and keep it from getting greasy.

Step 4:
If the mask smells pungent and you want to mask the odour, add a few drops of lavender oil to it. Tweak the content of the mask to suit your hair thickness and length.

Step 5:
Comb hair to remove tangles. Take a few drops of coconut oil and rub it through your hair length, before using a comb. It will smoothen your hair, which will make it easier to remove knots without tangles.

Step 6:
Divide hair in small sections and apply the mask using a brush. Apply it evenly, starting from the roots, working your way down. Your hair should be thoroughly saturated in the chia seed mask for strong hair but not so much that it is dribbling down your face.

Step 7:
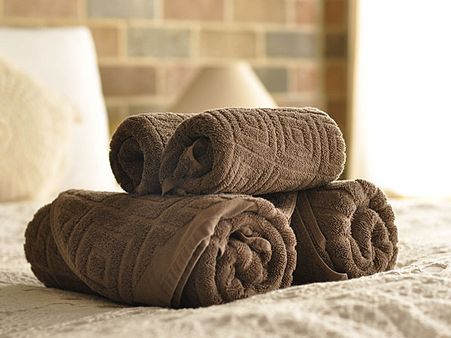
Tie your hair in a loose bun for better penetration of the mask. Dip a cotton towel in hot water, wring out the excess and wrap it around your hair. The steam from the water will help the mask to penetrate deep inside better.

Step 8:
Let the mask sit for 10 minutes and then rinse it off with a mild shampoo. Avoid conditioner or you can use it very lightly to the tips of your hair. And in case if you have naturally oily hair, avoid conditioner. This chia seed hair mask works as a conditioner, making your hair silky. Too much of a conditioner can end up in making your hair limp as well.
Step 9:
Wring out the excess water from your hair. Blot out the moisture using a microfiber towel. Avoid rubbing your scalp harshly with towel. Your hair tends to be at its weakest when wet.

Step 10:
Apply a heat-protecting serum onto your hair before blow drying. When using a dryer, keep it at least six inches away from your hair to avoid the heat damage.
End Result
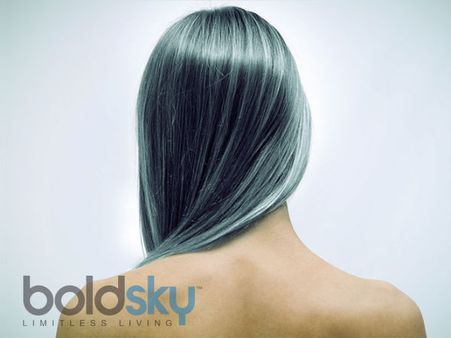
This chia seed mask for hair growth, when used once a week, can make your hair visibly soft and silky, by reducing hair fall. However, no mask is as effective unless combined with a vitamin-rich diet and adequate care.
-
 skin careWays To Use Chia Seeds To Reverse Ageing
 -
 diet fitness2 Spoons Of This Simple Recipe Can Reduce Belly Fat Quickly
 -
 diet fitnessBest Breakfast Combo To Melt Fat & Reduce Blood Sugar Levels
 -
 skin careHomemade Chia Seed Face Mask To Repair Damaged Skin!
 -
 healthDiets That Can Mess With Your Hair Growth: How To Prevent Hair Loss?
 -
 beauty5 Natural Remedies For Baby Hairs Aka Peach Fuzz
 -
 beautyUnlocking Ayurveda's Secrets: Natural Hair Care Tips For Hair Loss
 -
 yoga spirituality5 Tried And Tested Mantras For Hair Growth
 -
 hair careHaircare Tips: How To Grow Hair Fast, Naturally
 -
 hair careCarrot Oil For Hair Growth: How To Use It
 -
 hair careTired Of Hair Loss? Here Are Some Tips And Home Remedies To Naturally Regrow Your Hair
 -
 hair careExtremely Simple And Effective Ways To Use Apple Cider Vinegar For Hair Growth


 Click it and Unblock the Notifications


